Adobe Illustrator One on One Mastery Notes 01
Adobe Illustrator One on One Mastery Notes for Chapters 2 & 3
Hello my name is Christian and I am a graphic designer based in Massachusetts. This blog post are notes from Adobe Illustrator One on One Mastery by Deke McClelland. Check out the course I highly recommend it. The notes here cover Chapters 2 & 3 which include Blend Modes, Opacity Masks, and some other takeaways.
Blending Modes
The blend modes can be found in the Transparency Panel. To open the Tranparency panel go to Window > Transparency.

There are 16 total Blend Modes in Illustrator CC 2018. Listed below are all the blend modes and how they interact with an image. When talking about the blend modes I have opted to talk about the top layer in relation to the layer below it. For example when I say that the lighter values get replaced, I mean that the lighter values in the top color(s) get replaced by the underlying color(s). To be honest, I don't have much familiarity with the blend modes so I have included images and descriptions from other sources. Some of the later blend modes are not properly shown but I may update that in the future.
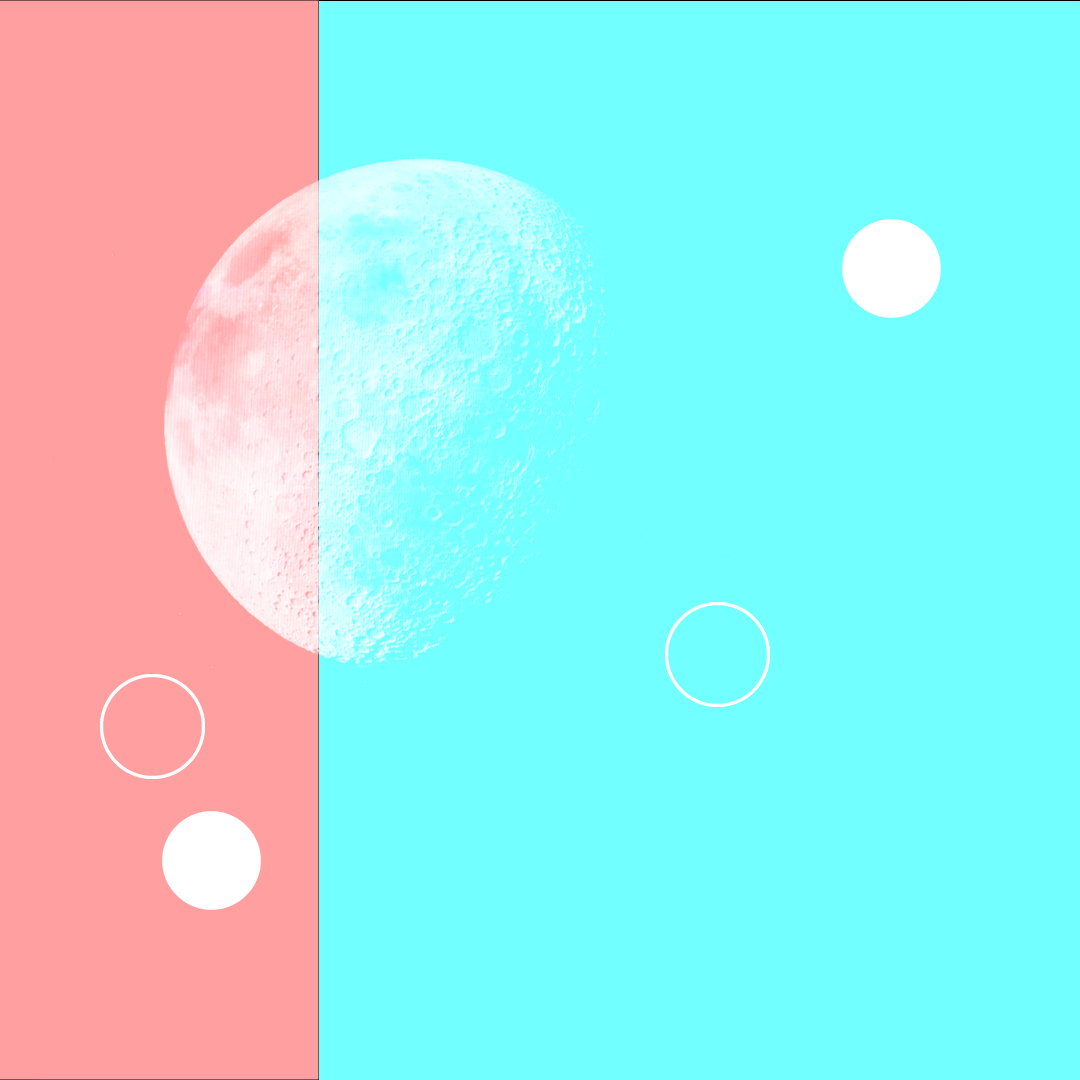
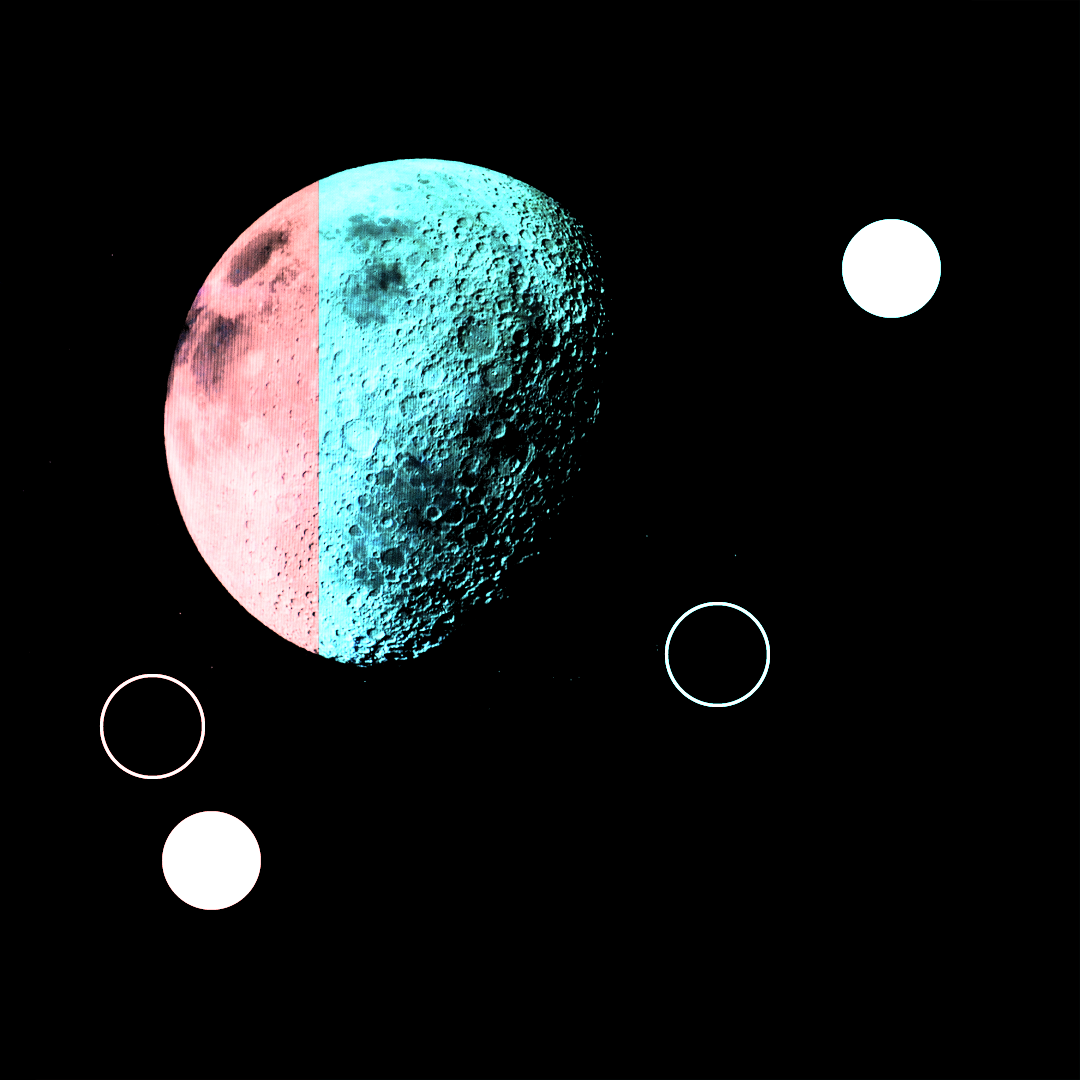
For our Top Layer we have a Moon Image and 4 circles on a black background. The underlying layer contains two rectangles one pink and one cyan.
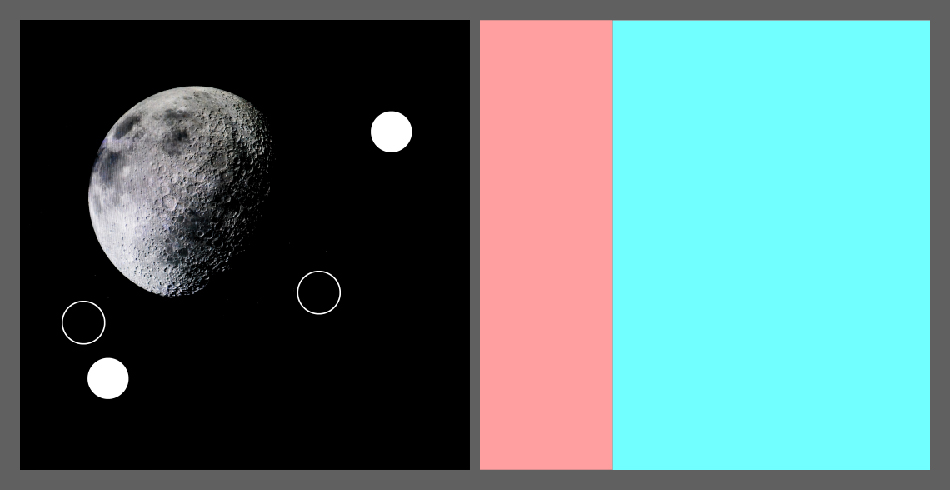
The images above are being used to showcase the blending modes. Left is the top layer and right is the underlying layer.
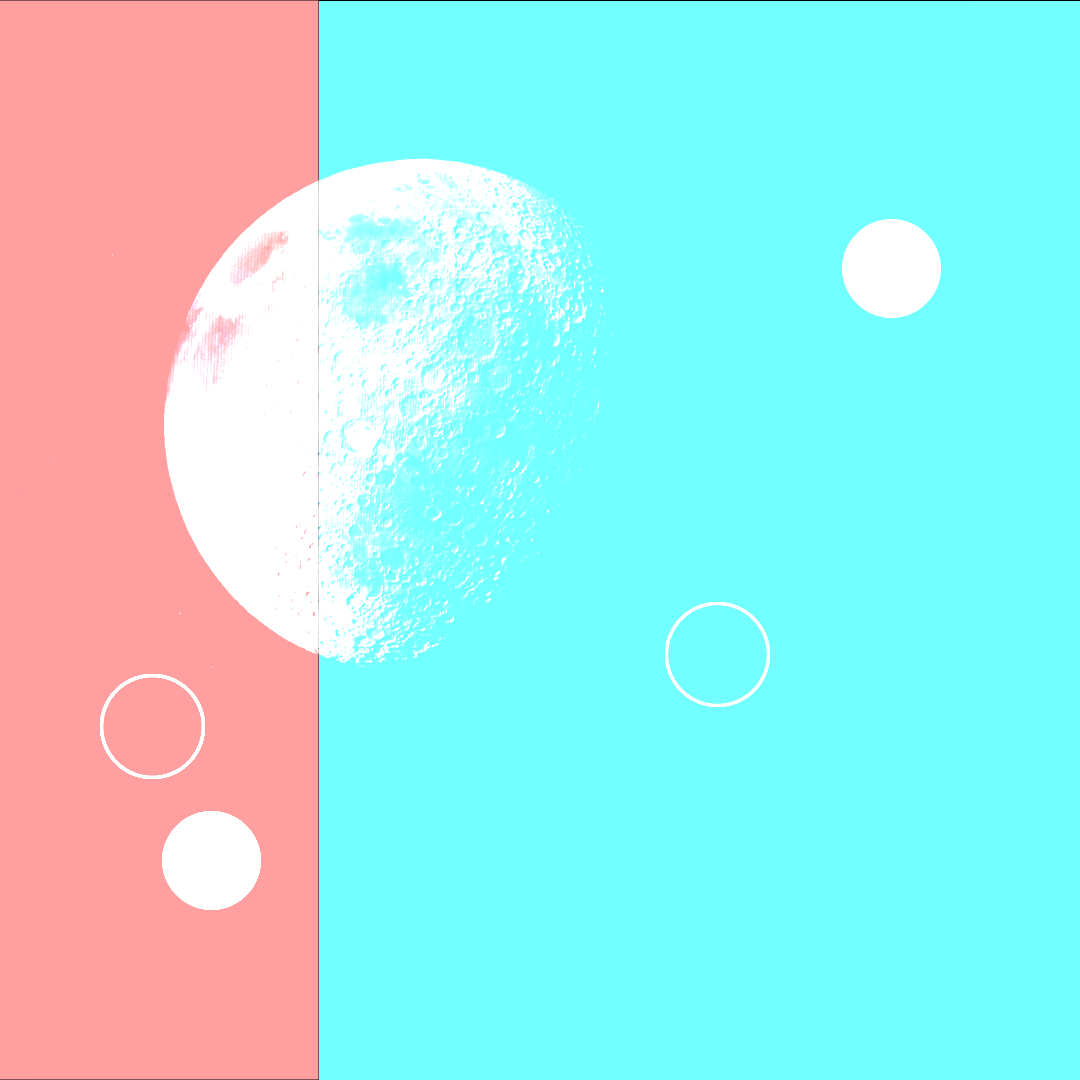
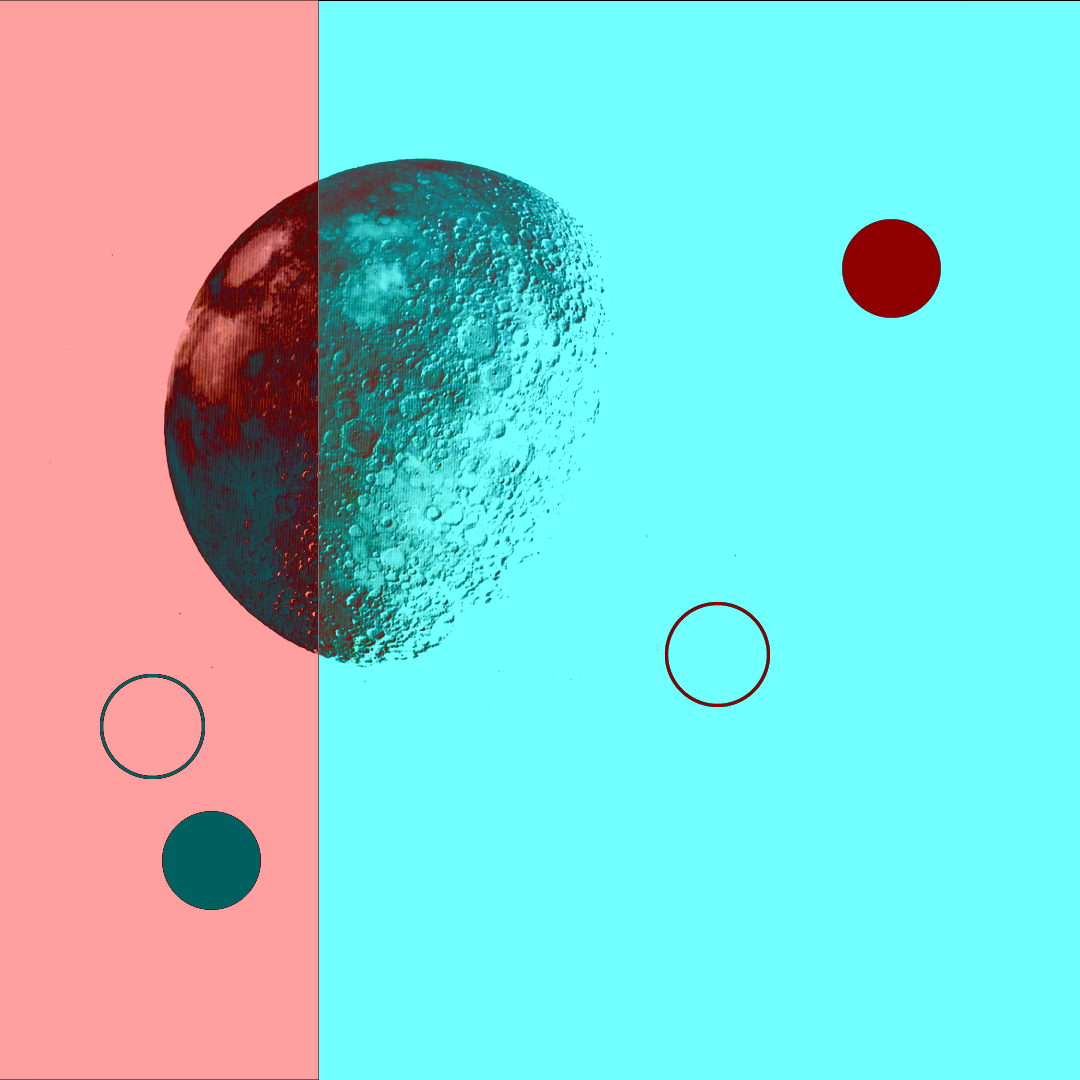
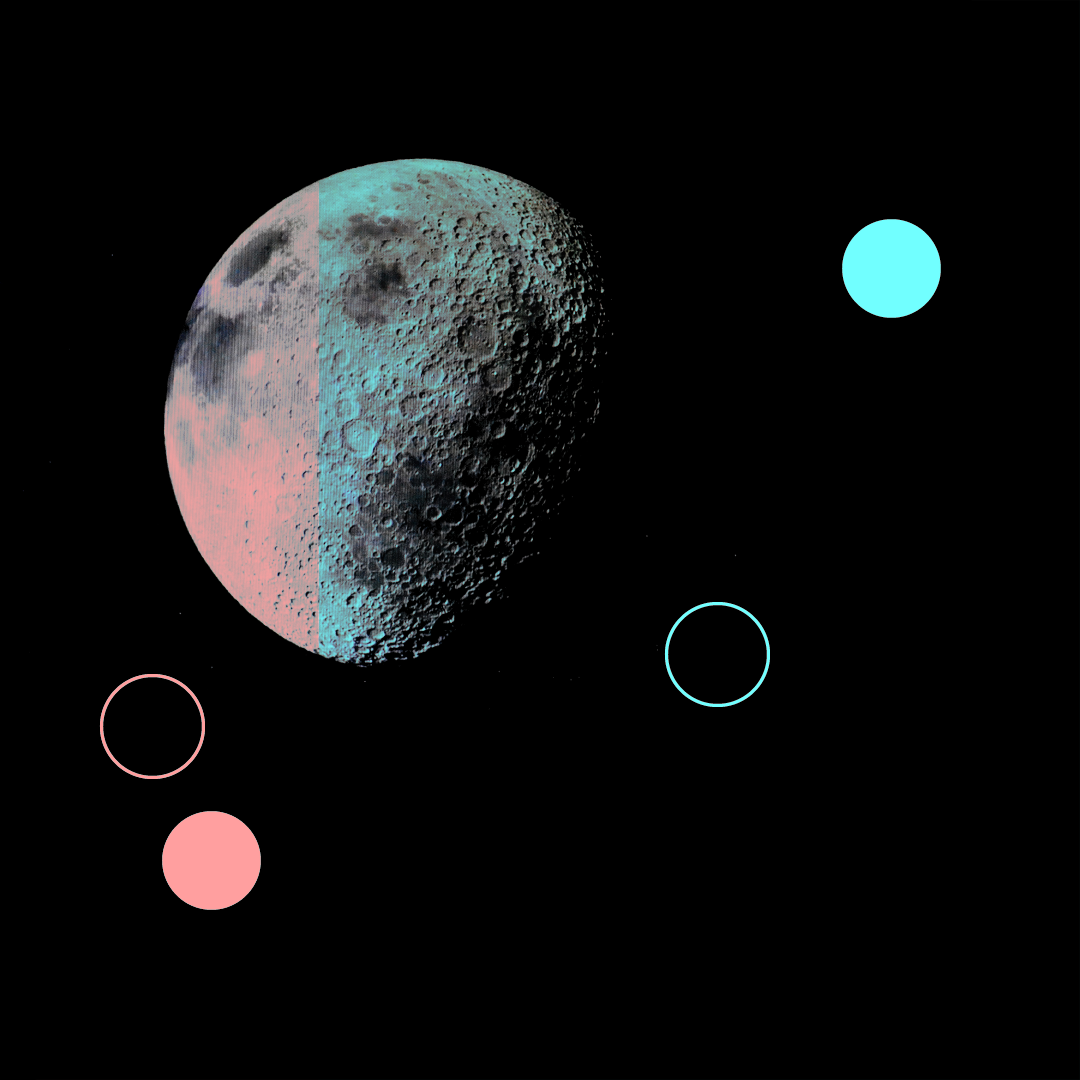 Darken: Darker values unchanged. Lighter values replaced.
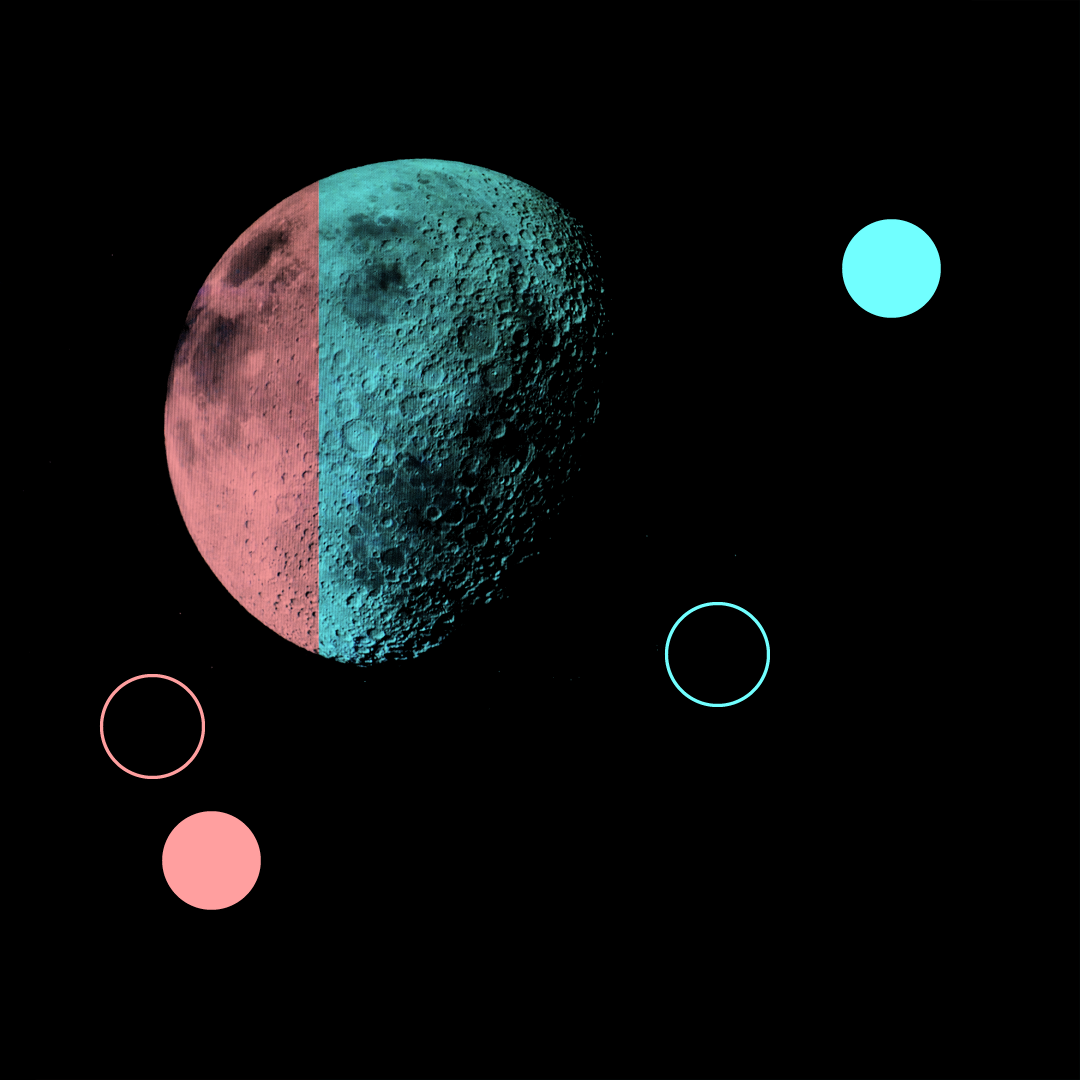
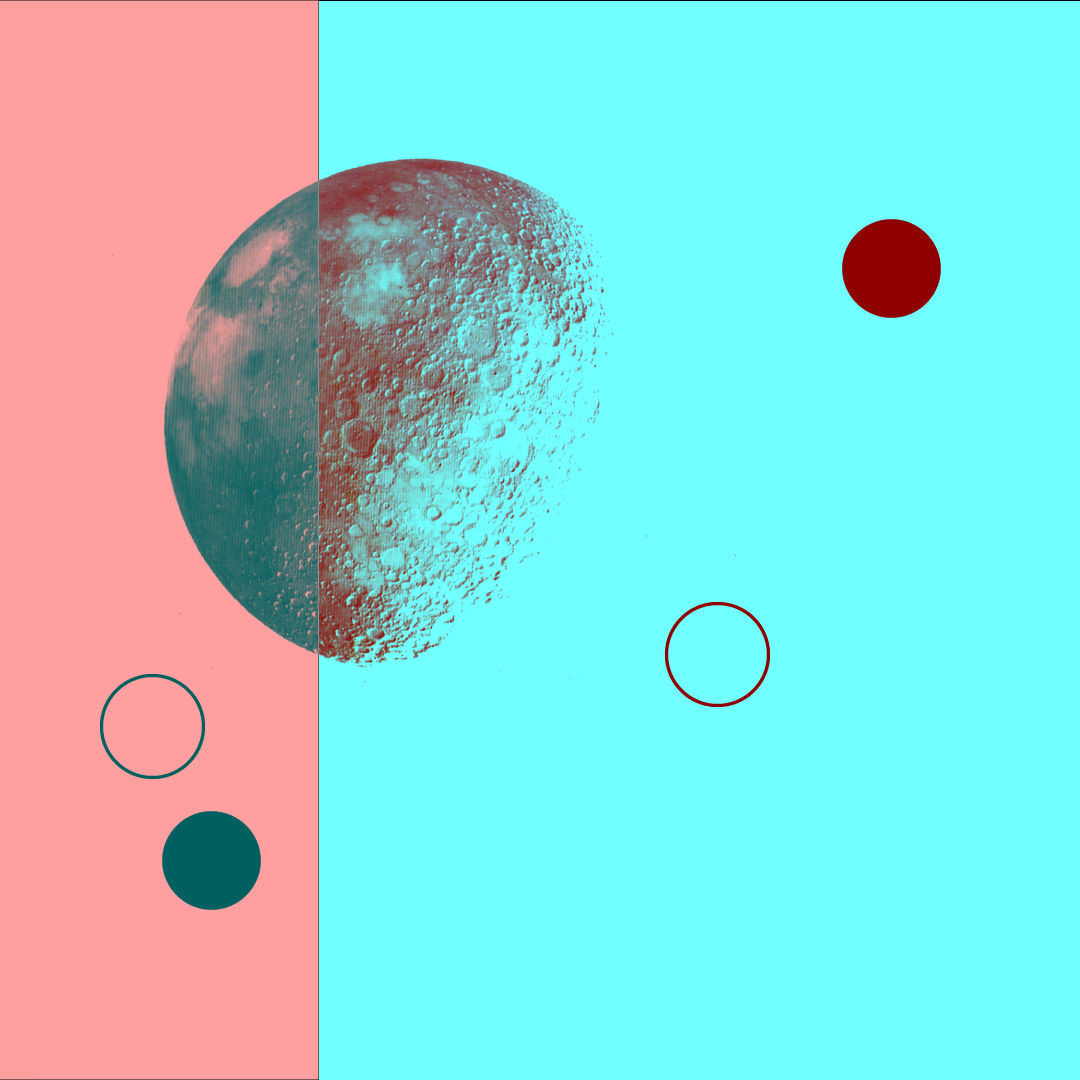
Multiply: Best mode for darkening. Multiplies the luminance levels.

Color Burn: Darkens the base color to reflect the blend color. If you’re using white, no change occurs.
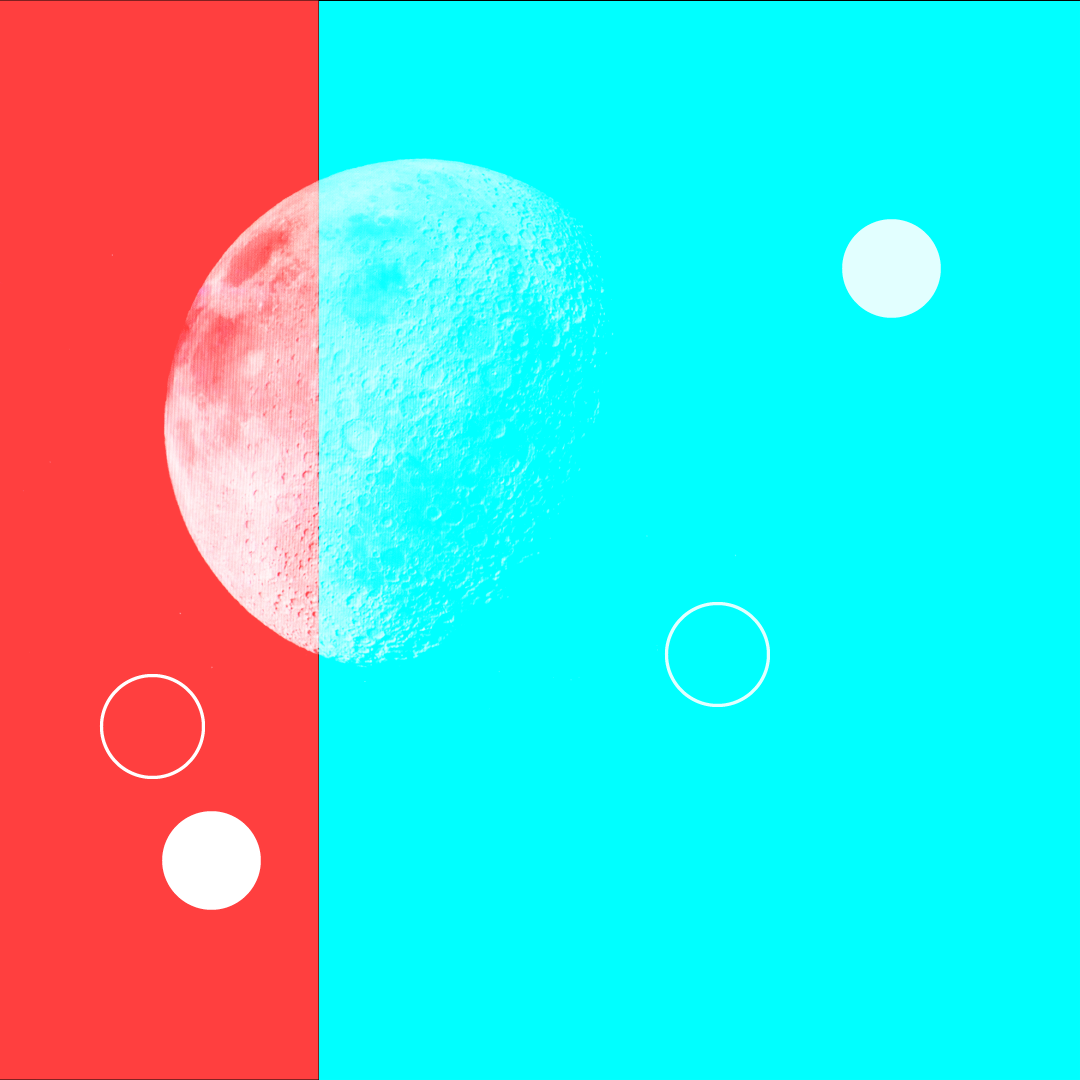
Lighten: Replaces only the areas that are darker than the blend color. Areas lighter than the blend color don’t change.
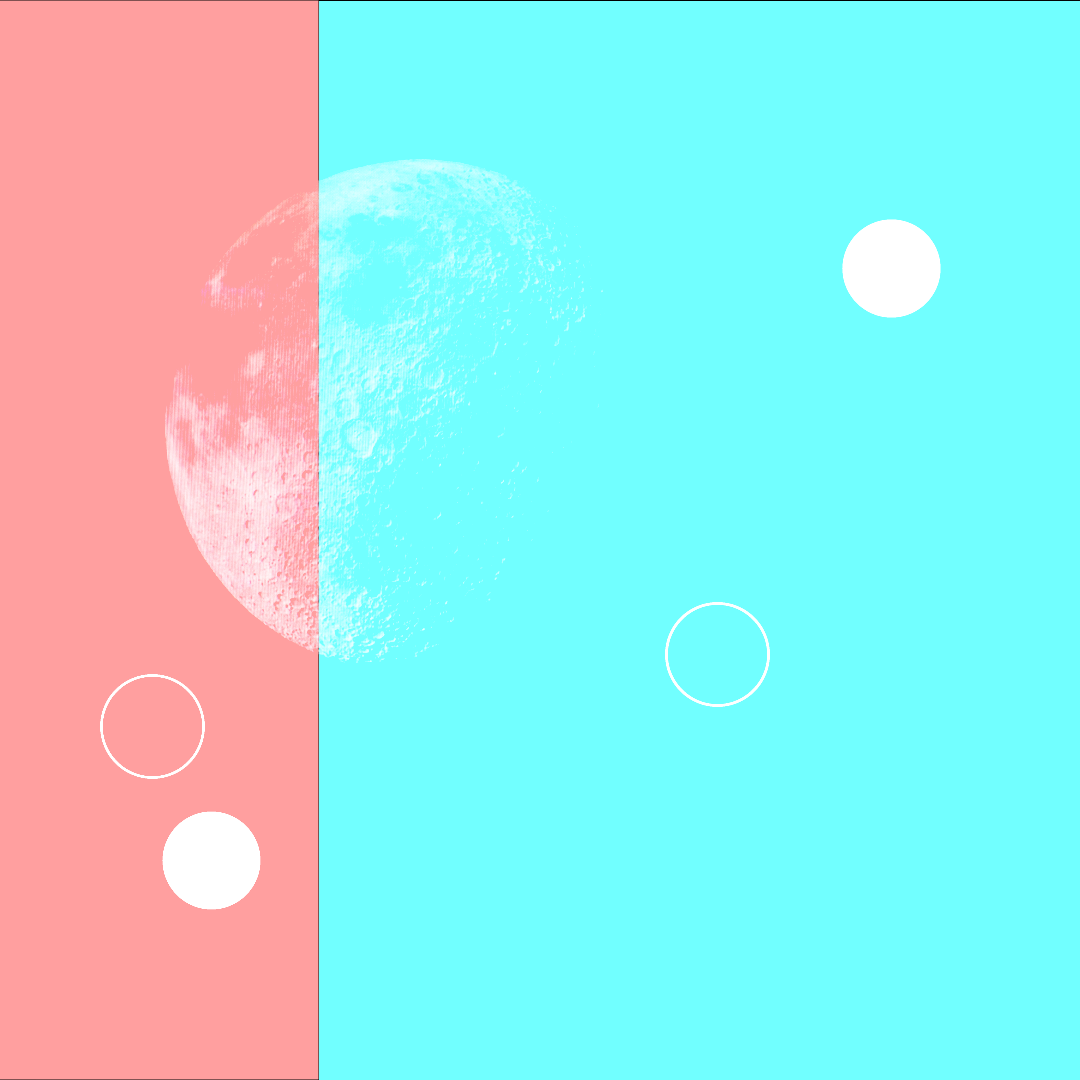
Screen: Multiplies the inverse of the underlying colors. The resulting color is always a lighter color.
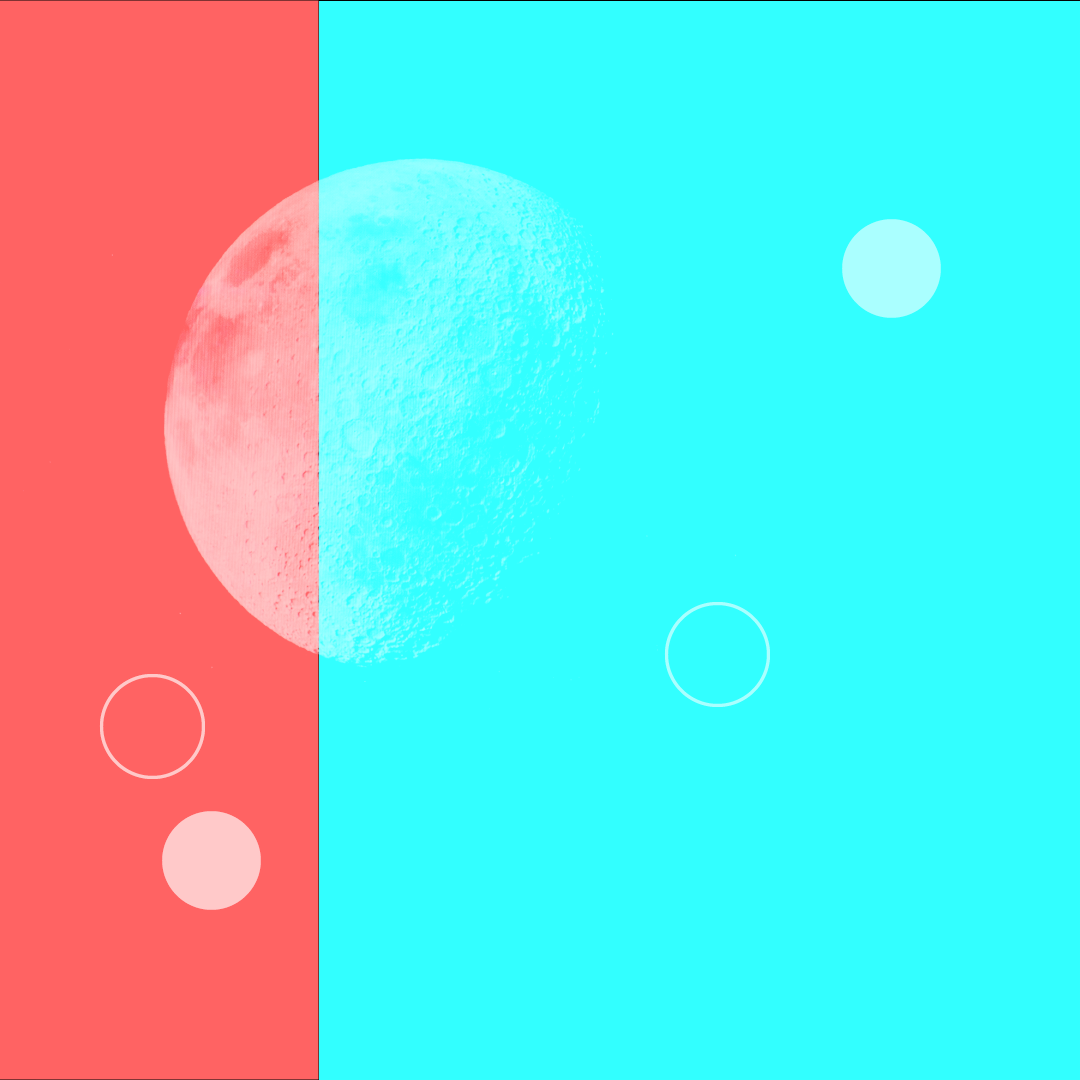
Color Dodge: Brightens the underlying color to reflect the blend color. If you’re using black, there’s no change.
Overlay: Multiplies or screens the colors, depending on the base color.
Soft Light: Darkens or lightens colors, depending on the blend color. The effect is similar to shining a diffused spotlight on the artwork.
Hard Light: Multiplies or screens colors, depending on the blend color. The effect is similar to shining a harsh spotlight on the artwork.
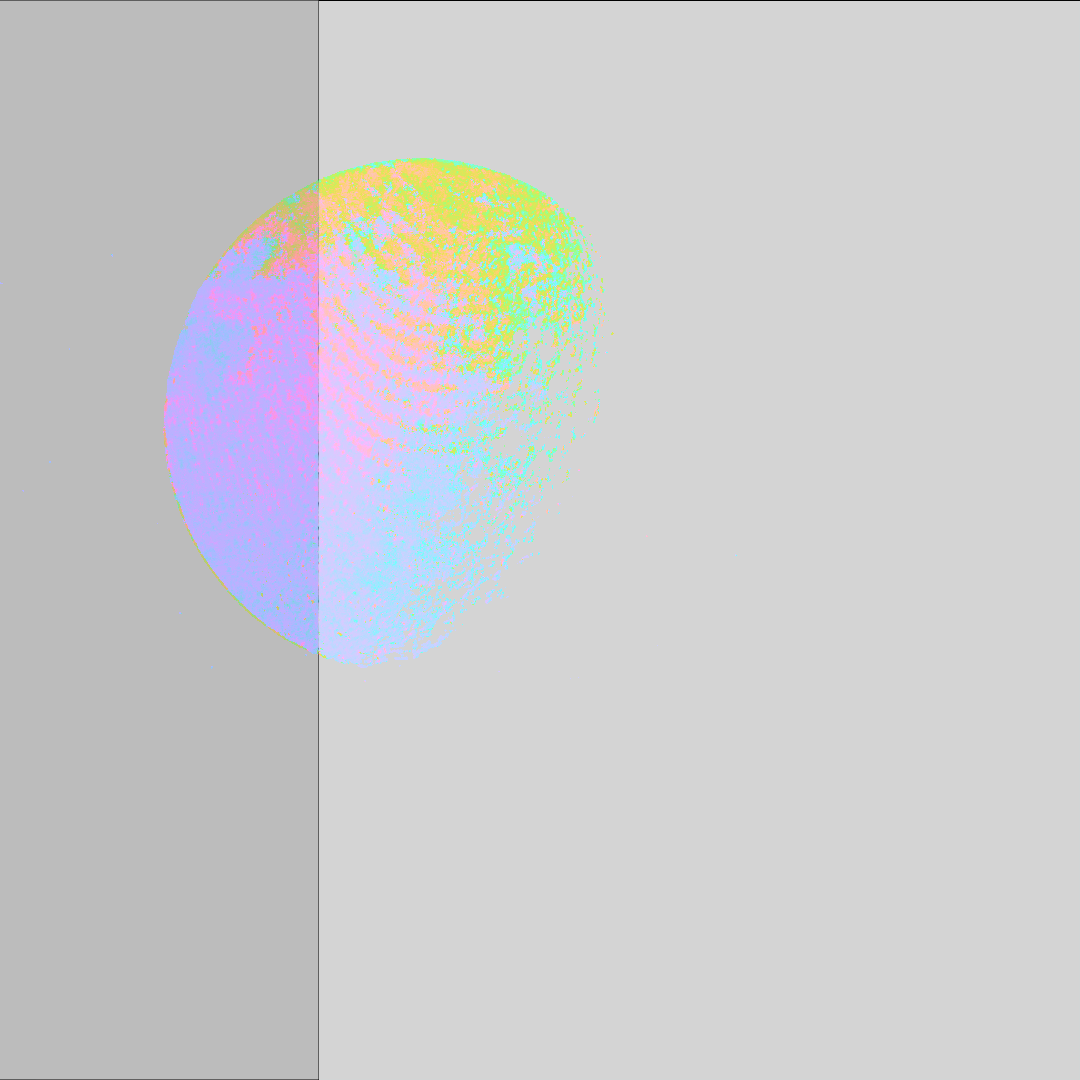
Difference: Subtracts either the blend color from the base color or the base color from the blend color, depending on which has the greater brightness value. The effect is similar to a color negative.
Exclusion: Creates an effect similar to, but with less contrast than, Difference mode.
Hue: Applies the hue (color) of the blend object to underlying objects but keeps the underlying shading, or luminosity.

Saturation: Applies the saturation of the blend color but uses the luminance and hue of the base color.

Color: Applies the blend object’s color to the underlying objects but preserves the gray levels in the artwork; works well for tinting objects or changing their color.
Isolate Blending
Limit the blending within the confines of a group or layer. With a group of objects selected go to transparency and click isolate blending box. Alternatively you can select isolate blending for all objects at the layer level. Just make sure to uncheck the isolate blending at the object level because two isolate blending checks (Layer & Object) cancel each other out.
Blend Modes Onto Layers
You can apply the blend mode to the Layer by clicking on the meatball next to the layer and applying the blend mode. This way you can move object in and out of layers and the objects will inherit the blend mode of the layer.
Opacity Masking
With all objects selected go to the Transparency panel and click make mask. This will make the top object the mask which is similar to a clipping mask. This mask can work with gausian blur on a black stroke for a feathered edge. Remember that white reveals Black conceals. If you uncheck the Clip box then only the black will conceal, white will be ignored, and the underlying objects will unconfined by the mask shape. You can also invert the mask which will change it to White Conceals Black Reveals. Alt click the mask thumbnail to see it and edit it in a isolation mode. Disable the mask with Shift Click. Illustrator does not name an opacity mask but you can identify it in the layers panel by the underlined text. Opacity masks can have multiple shapes and layers of revealing and concealing. Allows for more flexibility (dynamic) and complex (multiple shapes) vs clipping/compound paths.
Knockouts
Select all objects within a group or layer by clicking the circle to the right of the group/layer in the Layers panel and go to the Transparency Panel and click on the knockout group box. This will cause object on top to block the things below based on the stacking order of the layers. If you change the transparency to 0% on the top object then you will get a clipping mask like effect while keep the effect dynamic. This can also be done in the appearance panel by selecting the path(appearance panel) > Transparency knockout then set the fill to 0% with multiple fills acting the same as multiple objects.
Color Terms
Hue is the core color. It's measured in degrees, as if the colors were wrapped around a circle.
Saturation controls the intensity of a color, from vivid at 100% to gray or white at 0%.
Brightness goes from bright color or white at 100% to black at 0%.
Luminosity is the amount of light that passes through, is emitted or reflected from a particular area.
Raster Effects
If using Gausian Blur or other Raster Effects and the PPI is too low you may not get the intended result. If you want to have more control over your raster effects go to Effect > Document Raster Effect Settings and change from 72ppi to 300ppi. This will result in a slower Illustrator experience but you will have more control over raster effects.
Takeaways
You can increase the size of a pattern within an object Effect > Distort & Transform > Transform make sure to uncheck the Transform Objects box.
The blending modes and opacities is beyond the realm of postscript and as such may cause issues when printing. The best option is to export the document to photoshop for further editing. Export > Export As...
Color Mode of a document is listed in the Document Tab. RGB works well with Blending modes. If your document is CMYK switch to RGB to get the best results with Blending modes.
Change the size of Ai UI tabs via Window > Control Panel then Edit Preferences > User Interface > click off Large Tabs
Puppet Warp Tool basics: Set Pins / Expand Mesh / Delete Pin (Select and hit Backspace)
Open Same File in New Window via Window > New Window
Arrange Documents Icon to Show Multiple Files at once
Make / Release clipping mask button at the bottom of the layer panel. This will make the top most object in the layer the shape for the clipping mask.
In the Align Panel there is an option to Align to key object. To make a key object shift click 2 or more objects then click one of them again to make if the key object. You can then align all selected to the key object.
Shift Click with the Eyedropper Tool (On a gradient or multicolor object) to grab that one specific color.
You can use the Ctrl J (Join) on two or more open paths to connect them and continue to use Ctrl J multiple times. Illustrator will do its best to join open paths intelligently.
Make Photoshop Selection into Illustrator Mask
If you want to make a custom selection from a complex image it is best to use Photoshop.Use Color Range to make a selection. Then Window > Channels click Save Selection as Channel Button. Afterwards Click on Alpha1 in Channels. Select All and Copy. Go into Illustrator and paste the object in the correct location. The best way to do this is to Window > Fit Artboard in Window to center the artboard and then Edit > Paste. If you are trying to paste the selection into the mask then click on the thumnail within the Transparency Panel. Remember White Reveals Black Conceals.
Photoshop Layer Stuff
In the Layer Panel there click the Add Layer Mask. Within this Mask you can paint with Black to Conceal or White to Reveal. Also within the Layer Style Window which can be accessed by double clicking a layer there is an underlying layer option in the blendin options. You can adjust the White and Black values of the underlying layer which will mask the selected layer based on the underlying layer. You can also adjust the transition by Alt Click the slider and seperating the slider.
Video Tutorial going over Blend Modes and Opacity Masks
That's it for now. Hope you were able to learn something from my notes. I know I learned a lot from Deke McClelland's course. Please check it out here: Adobe Illustrator One on One Mastery. Also check out the next set of notes that covers Brushes here: Adobe Illustrator One on One Mastery Notes 02